Azure DevOps YAML pipeline naming: from chaos to consistent versioning

Azure DevOps YAML pipeline naming: from chaos to consistent versioning

Azure DevOps YAML pipelines are powerful, but their default naming convention is a mess. If you’ve ever tried to track down a specific build, correlate artifacts with deployments, or simply understand what version of your application is running in production, you’ve felt this pain.

The default pipeline names look like this: mycoolapi-CI-20241201.1 or worse, just generic auto-generated strings that tell you absolutely nothing about the actual software version or build contents.

One of the first things I always do for clients, is fix up pipeline names to get some consistency and proper versioning baked in. Everything flows from there.

This isn’t just a cosmetic problem. Poor pipeline naming creates real operational headaches, compliance issues, and wastes countless hours of developer time. Let’s fix it.

The hidden cost of default pipeline naming

Scenario: Your production API is misbehaving at 2 AM. You need to:

  1. Identify which build is currently deployed
  2. Find the corresponding pipeline run
  3. Trace back to the source code and changes
  4. Potentially roll back to a previous version

With default naming, this becomes a detective story. You’re clicking through pipeline runs, checking timestamps, cross-referencing deployment logs, and hoping you find the right build. Meanwhile, your API is down and customers are complaining.

Note: There are better ways of determining which version is in production, by using Azure resource tags - which I will cover in a subsequent article. But it all starts with a good foundation of using easy-to-read and consistent version numbers as part of your pipeline runs.

The Real Problems:

  • No Version Visibility: Pipeline names don’t reflect semantic versions
  • Artifact Confusion: Docker images, zip files, and other build artifacts have inconsistent naming
  • Deployment Traceability: Impossible to quickly identify what’s deployed where
  • Rollback Complexity: Finding “the previous working version” requires archaeology
  • Compliance Headaches: Audit trails become guesswork without clear version tracking

The Solution: structured pipeline versioning

Here’s a simple pattern that transforms your pipeline naming from chaos to clarity:

variables:
  majorVersion: 1
  minorVersion: 0
  patchVersion: 0
  featureName: 'mycoolapi'
  vmPoolImage: 'ubuntu-latest'
  region: 'UK South'

name: $(majorVersion).$(minorVersion).$(patchVersion)$(Rev:.r)

trigger:
  branches:
    include:
    - main
    - develop

pool:
  vmImage: $(vmPoolImage)

stages:
- stage: Build
  displayName: 'Build $(featureName) v$(Build.BuildNumber)'
  jobs:
  - job: BuildJob
    steps:
    - script: |
        echo "Building $(featureName) version $(Build.BuildNumber)"
        echo "##vso[build.updatebuildnumber]$(majorVersion).$(minorVersion).$(patchVersion).$(Build.BuildId)"
      displayName: 'Set Version Number'

Why this versioning pattern works

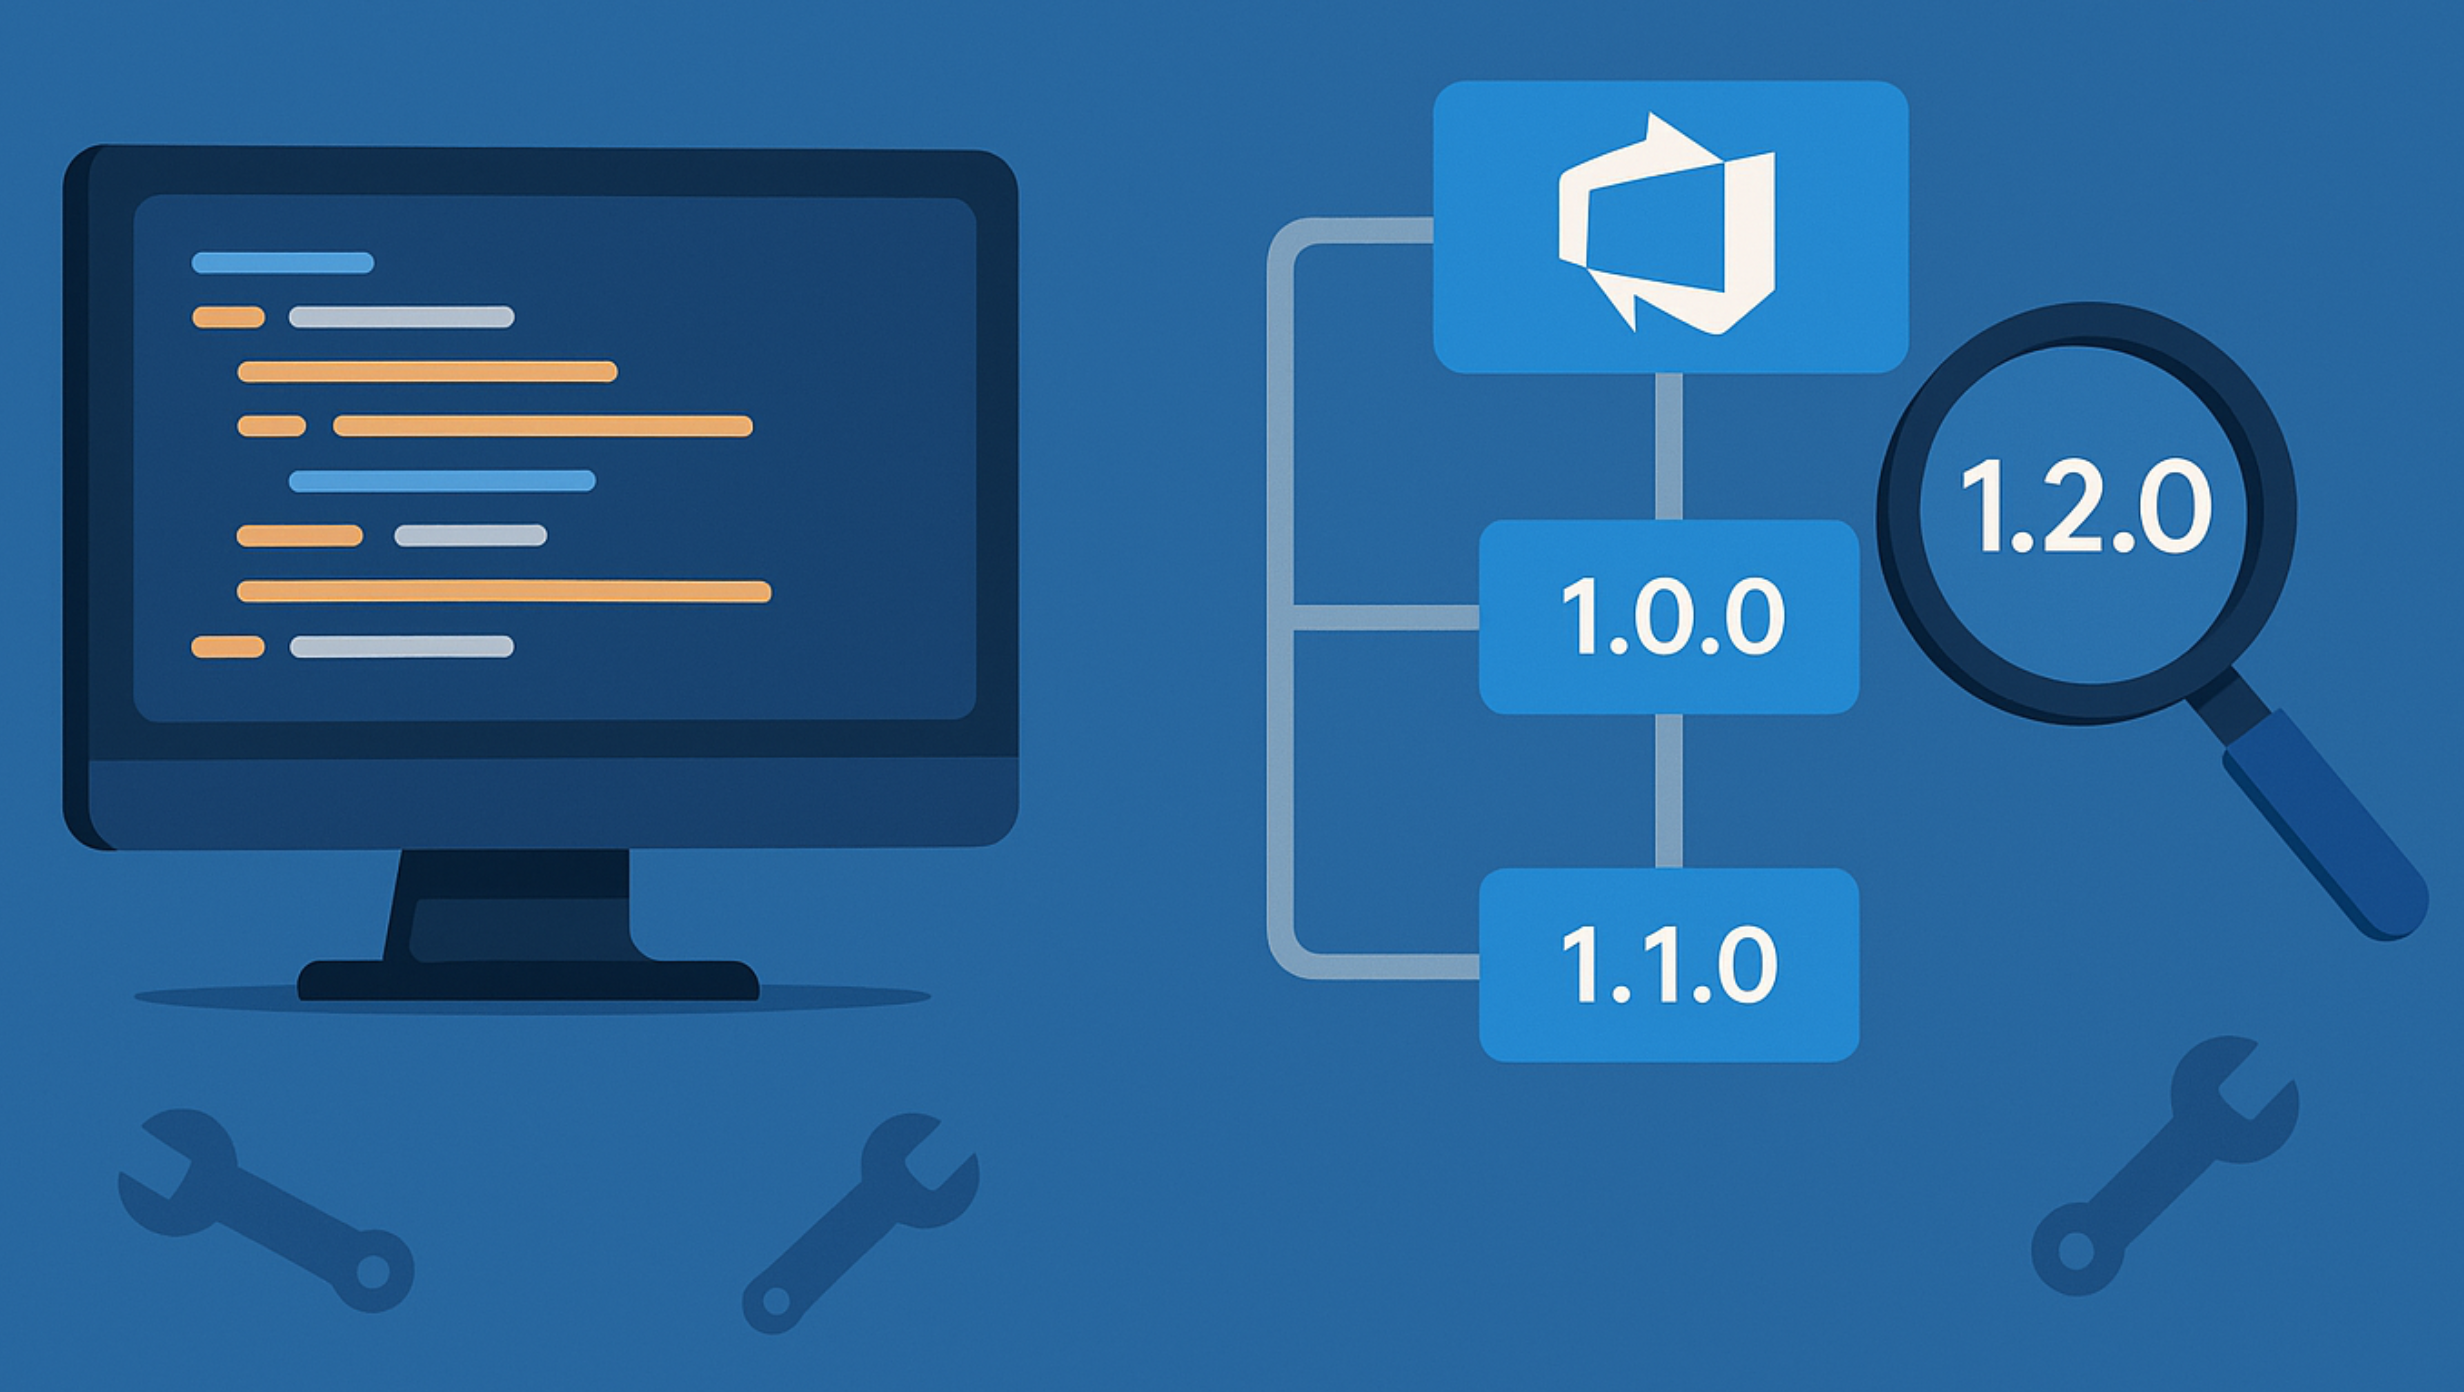
1. Structured versioning at a glance Your pipeline runs now show 1.0.0.123 instead of mycoolapi-CI-20241201.1. Instantly recognisable, semantically meaningful, and sortable.

2. Centralised version control Need to bump from 1.0.x to 1.1.0 for your next feature release? Change one variable at the top of your YAML file. Every subsequent build, artifact, and deployment will use the new version consistently.

3. Traceability Chain

  • Pipeline run: mycoolapi v1.0.0.123
  • Docker image: mycoolapi:1.0.0.123
  • Artifact: mycoolapi-1.0.0.123.zip
  • Deployment logs: Deploying mycoolapi v1.0.0.123 to Production

Everything connects with the same version identifier.

4. Operational clarity At 2 AM, you can instantly see that Production is running 1.0.0.118, Staging has 1.0.0.123, and you need to decide whether to rollback or push the fix forward.

Advanced patterns for different scenarios

Branch-based versioning

variables:
  majorVersion: 1
  minorVersion: 0
  patchVersion: 0
  featureName: 'mycoolapi'
  ${{ if eq(variables['Build.SourceBranchName'], 'main') }}:
    versionSuffix: ''
  ${{ else }}:
    versionSuffix: '-$(Build.SourceBranchName)'

name: $(majorVersion).$(minorVersion).$(patchVersion)$(versionSuffix)$(Rev:.r)

This creates versions like:

  • 1.0.0.123 for main branch builds
  • 1.0.0-feature-auth.45 for feature branch builds

Integration with Docker and other build artifacts

The real power comes when you use this version consistently across all build outputs:

- task: Docker@2
  displayName: 'Build Docker Image'
  inputs:
    command: 'build'
    Dockerfile: '**/Dockerfile'
    tags: |
      $(featureName):$(Build.BuildNumber)
      $(featureName):latest

- task: Docker@2
  displayName: 'Push Docker Image'
  inputs:
    command: 'push'
    tags: |
      $(featureName):$(Build.BuildNumber)
      $(featureName):latest

- task: PublishBuildArtifacts@1
  displayName: 'Publish Artifacts'
  inputs:
    pathToPublish: '$(Build.ArtifactStagingDirectory)'
    artifactName: '$(featureName)-$(Build.BuildNumber)'
    publishLocation: 'Container'

Now your Docker registry shows images tagged with actual versions, and your artifact feeds contain meaningfully named packages.

Deployment Pipeline Integration

Your release and deployment pipelines can now reference specific versions clearly:

# Release Pipeline
variables:
  deployVersion: '1.0.0.123'  # Can be parameterized
  targetEnvironment: 'Production'

name: 'Deploy $(featureName) v$(deployVersion) to $(targetEnvironment)'

stages:
- stage: Deploy
  displayName: 'Deploy to $(targetEnvironment)'
  jobs:
  - deployment: DeployJob
    environment: $(targetEnvironment)
    strategy:
      runOnce:
        deploy:
          steps:
          - script: |
              echo "Deploying $(featureName) version $(deployVersion) to $(targetEnvironment)"
              # Your deployment scripts here
            displayName: 'Deploy $(featureName) v$(deployVersion)'

Version bump strategies

Manual Bumping Update the major, minor and patch variables manually when planning releases:

variables:
  majorVersion: 1    # Breaking changes
  minorVersion: 2    # New features (bump this)
  patchVersion: 0    # Reset when minor bumps

After all, you know best when it makes sense to bump version numbers, especially when there are breaking changes.

Implementation checklist

Phase 1: Basic Implementation

  • Add version variables to your YAML pipeline
  • Update pipeline name format
  • Test with a few builds to verify format

Phase 2: Artifact Integration

  • Update Docker image tagging
  • Modify artifact naming conventions
  • Update deployment scripts to use new naming/version

Phase 3: Process Integration

  • Train team on version bump process
  • Create documentation for version management
  • Set up monitoring for version tracking

Phase 4: Advanced Features

  • Implement branch-based versioning
  • Integrate with release management tools

Common Pitfalls and Solutions

Problem: “Multiple teams working on same repository” Solution: Use branch-based versioning or service-specific prefixes

Problem: “Existing artifacts have different naming” Solution: Implement gradually, maintain both formats during transition

The bottom line

Default Azure DevOps pipeline naming is a hidden tax on your development productivity. Every confusing build name, every artifact archaeology session, every 2 AM deployment detective story costs time and increases stress.

Having structured pipeline naming with version numbers isn’t just about prettier build numbers. It’s about:

  • Faster incident resolution when you can instantly identify deployed versions
  • Simplified rollback procedures with clear version progression
  • Better compliance and audit trails with meaningful version history
  • Reduced cognitive load for your development and test team

The implementation takes very little effort. The benefits last for years.

Start with one pipeline, prove the value, then roll it out across your organisation.


read more

Automating Azure DevOps Work Item association with Git commit hooks

Automating Azure DevOps Work Item association with Git commit hooks

In modern software development, maintaining traceability between code changes and work items is crucial for project management, compliance, and debugging.

Azure DevOps provides excellent integration between Git commits and work items, but it relies on developers remembering to include work item references in their commit messages.

This is where Git hooks, in particular the commit-msg hook comes to the rescue.

This article will show you how to implement a robust commit-msg Git hook that automatically enforces Azure DevOps work item association, either by detecting existing hash number syntax (#123) or by intelligently extracting work item numbers from branch names.

Why automate Work Item association?

Before diving into the implementation, let’s understand the benefits:

  • Consistency: Ensures every commit is linked to a work item
  • Traceability: Makes it easy to track which commits relate to specific features or bugs
  • Compliance: Helps meet organisational requirements for change tracking
  • Reporting: Enables better project metrics and allows for automatic generation of release notes

The solution: A smart commit hook

Our approach uses a commit-msg Git hook that:

  1. Checks existing commit messages for work item references (e.g., #123)
  2. Extracts work item numbers from branch names when not found in the message
  3. Automatically appends the work item reference to the commit message
  4. Prevents commits that can’t be associated with any work item

Understanding the branch name patterns

The hook supports two common branch naming conventions:

  • Prefix pattern: 123-feature-description or 456-bugfix-login-issue
  • Feature branch pattern: feature/789-new-dashboard or bugfix/101-memory-leak

The commit hook implementation

Here’s the complete commit-msg hook:

#!/bin/bash

# Get the current branch name
BRANCH_NAME=$(git rev-parse --abbrev-ref HEAD)

# Get the commit message file
COMMIT_MSG_FILE=$1

# Validate commit message file
if [ -z "$COMMIT_MSG_FILE" ] || [ ! -f "$COMMIT_MSG_FILE" ] || [ ! -r "$COMMIT_MSG_FILE" ]; then
    echo "Error: Commit message file is missing or not readable."
    exit 1
fi

# Read the commit message
COMMIT_MSG=$(cat "$COMMIT_MSG_FILE" 2>/dev/null)
if [ $? -ne 0 ]; then
    echo "Error: Failed to read commit message file '$COMMIT_MSG_FILE'."
    exit 1
fi

# Check if branch name starts with a number or has a number after the last forward slash
if [[ $BRANCH_NAME =~ ^([0-9]+) || $BRANCH_NAME =~ /([0-9]+)(-[^/]+)?$ ]]; then
    # Extract the number (either from start or after last slash)
    if [[ ${BASH_REMATCH[1]} ]]; then
        WORK_ITEM_NUMBER="${BASH_REMATCH[1]}"
    else
        WORK_ITEM_NUMBER="${BASH_REMATCH[2]}"
    fi
    # Append the work item number to the commit message with a newline if not already present
    if ! grep -q "#$WORK_ITEM_NUMBER" "$COMMIT_MSG_FILE"; then
        echo -e "\n#$WORK_ITEM_NUMBER" >> "$COMMIT_MSG_FILE"
    fi
else
    # If no number is found in the branch name, check for #number in commit message
    if ! echo "$COMMIT_MSG" | grep -qE '#[0-9]+'; then
        echo "Error: Commit message must contain a work item number (e.g., #123) or branch name must start with a number or have a number after the last forward slash."
        exit 1
    fi
fi

exit 0

How It Works

Step 1: Branch analysis
The hook first examines the current branch name using git rev-parse --abbrev-ref HEAD and applies regex patterns to detect work item numbers.

Step 2: Message validation
It reads the commit message file and validates that it exists and is readable, providing clear error messages if not.

Step 3: Smart detection
Using bash regex matching, it looks for:

  • Numbers at the start of branch names: ^([0-9]+)
  • Numbers after the last forward slash: /([0-9]+)(-[^/]+)?$

Step 4: Automatic appending
If a work item number is found in the branch name but not in the commit message, it automatically appends #<number> to the message.

Step 5: Fallback validation
If no work item number can be extracted from the branch name, it ensures the commit message already contains a #<number> reference. If not, the hook exits with an error message, notifying the user that a work item must be associated with the commit.

Deployment across multiple repositories

Managing Git hooks across multiple repositories can be challenging. Here’s a deployment script that automates the process.

You provide the script with a local starting directory (typically your org’s Git workspace root) and it will traverse all directories below it and copy the commit-msg hook into the relevant .git/hooks folders.

#!/bin/bash

# Script to deploy Git hooks from the shared-git-hooks repo to all .git/hooks directories
# Usage: ./deploy-hooks.sh <start_directory> [--force|-f]

# Initialize variables
START_DIR=""
FORCE=0

# Parse arguments
while [ $# -gt 0 ]; do
    case "$1" in
        --force|-f)
            FORCE=1
            shift
            ;;
        *)
            if [ -z "$START_DIR" ]; then
                START_DIR="$1"
            else
                echo "Error: Unexpected argument '$1'"
                echo "Usage: $0 <start_directory> [--force|-f]"
                exit 1
            fi
            shift
            ;;
    esac
done

# Check if start directory is provided
if [ -z "$START_DIR" ]; then
    echo "Usage: $0 <start_directory> [--force|-f]"
    exit 1
fi

HOOKS_SRC="$(pwd)/hooks"

# Validate directories
if [ ! -d "$START_DIR" ]; then
    echo "Error: Start directory '$START_DIR' does not exist."
    exit 1
fi

if [ ! -d "$HOOKS_SRC" ]; then
    echo "Error: Hooks directory not found in current directory ($HOOKS_SRC)."
    exit 1
fi

# Find all .git directories recursively
echo "Searching for Git repositories in $START_DIR..."
find "$START_DIR" -type d -name ".git" | while read -r git_dir; do
    repo_dir=$(dirname "$git_dir")
    hooks_dir="$git_dir/hooks"
    echo "Processing repository: $repo_dir"

    # Ensure hooks directory exists
    mkdir -p "$hooks_dir"

    # Copy each hook from the hooks/ directory
    for hook in "$HOOKS_SRC"/*; do
        hook_name=$(basename "$hook")
        hook_dest="$hooks_dir/$hook_name"

        # Skip any hook that already exists unless force flag is set
        if [ "$FORCE" -eq 0 ] && [ -f "$hook_dest" ]; then
            echo "  Skipping $hook_name: already exists in $repo_dir"
            continue
        fi

        # Copy the hook and make it executable
        if cp "$hook" "$hook_dest"; then
            chmod +x "$hook_dest"
            if [ "$FORCE" -eq 1 ] && [ -f "$hook_dest" ]; then
                echo "  Overwrote $hook_name in $repo_dir (force mode)"
            else
                echo "  Installed $hook_name to $repo_dir"
            fi
        else
            echo "  Error: Failed to copy $hook_name to $repo_dir"
        fi
    done
done

echo "Hook deployment completed."
exit 0

Setting up your hook infrastructure

1. Create a shared hooks repository

mkdir shared-git-hooks
cd shared-git-hooks
mkdir hooks
# Place your commit-msg hook in the hooks/ directory
# Add the deploy-hooks.sh script to the root

Don’t forget to chmod +x deploy-hooks.sh - to allow execution permissions.

2. Copy to all repositories

# Deploy to all repos in your workspace
./deploy-hooks.sh ~/workspace

# Force update existing hooks
./deploy-hooks.sh ~/workspace --force

3. Test your setup

Create a test branch and commit:

# Branch with work item number
git checkout -b 123-test-feature
git add .
git commit -m "Add new feature"
# Result: "Add new feature\n\n#123"

# Branch without work item number but commit with reference
git checkout -b feature-branch
git add .
git commit -m "Fix bug #456"
# Result: Commit succeeds with existing #456 reference

Best practices and tips

Branch naming conventions
Establish consistent patterns across your team:

  • <work-item>-<description>: 1234-implement-login
  • <type>/<work-item>-<description>: feature/1234-implement-login

Error handling
The hook provides clear error messages when work items can’t be associated, helping developers understand what went wrong.

Customisation
Modify the regex patterns to match your team’s specific branch naming conventions. The current implementation is flexible enough for most common patterns.

Troubleshooting common issues

Hook not executing
Ensure the hook file has executable permissions: chmod +x .git/hooks/commit-msg

Regex not matching
Test your branch names against the patterns using: [[ "your-branch-name" =~ ^([0-9]+) ]] && echo "Match!"

File permission errors
The deployment script automatically sets executable permissions on the hooks, but verify manually if issues persist.

Conclusion

Implementing this Git hook system transforms work item association from a manual, error-prone process into an automatic, reliable one. Your team will benefit from better traceability, improved compliance, and reduced cognitive overhead during development.

The combination of intelligent branch name parsing and fallback validation ensures that every commit is properly associated with Azure DevOps work items, while the deployment script makes it easy to maintain consistency across all your repositories.

Start with a pilot project, gather feedback, and then roll out across your organisation. Your future self (and your project managers) will thank you for the improved traceability and reduced manual effort.

read more

Using Template Libraries for Build and Deploy Stages in Azure DevOps Pipelines

Using Template Libraries for Build and Deploy Stages in Azure DevOps Pipelines

Picture this: one client I worked with had a 500-line azure-pipelines.yml—build here, deploy there, all tangled up. Another had five repos with copied-and-pasted stages—change one variable, fix it everywhere. Sound familiar? It’s a maintenance nightmare. Drift creeps in, errors pile up, and scaling becomes a slog.

Having Git repositories with dedicated and parameterised build and deploy templates in Azure Repos, fixes that.

Stick your templates—build, deploy, whatever—in one place, one Azure Repos git repo. Update once, and reuse them across features and other Azure Repos git repositories.

I’ve run hundreds of stages this way for big names. It’s not just tidy; it’s faster. You’re not rewriting the same deploy logic for dev, test, and prod. Let’s have a look how we can achieve this easily.

How to Make It Work

Here’s the nuts and bolts—three steps to get your build and deploy stages living in an external repo in Azure Repos, that gets pulled in for your multiple feature repo pipelines that need them.

Step 1: Setup the Repo

Create a new Git repo—call it templates-repo—on Azure Repos. This is your library. Inside, add two files:

  • build.yml for your build stage.
  • deploy.yml for your deploy stage.

Keep it simple to start—I’ll show you examples next.

Step 2: Write the Templates

These are parameterised YAML pipeline files—flexible, reusable. Here’s what they might look like:

build.yml:

parameters:
  - name: buildConfig
    default: Release
stages:
  - stage: Build
    jobs:
      - job: BuildJob
        steps:
          - script: echo Building ${{ parameters.buildConfig }}
            displayName: Build Step
          - script: |
              # Build here and copy output to Build.ArtifactStagingDirectory
              echo "Replace this with your build command (e.g., dotnet build)"
              cp -r ./output/* $(Build.ArtifactStagingDirectory)/
            displayName: Build and Copy Artifacts
          - task: PublishBuildArtifacts@1
            displayName: Publish artifacts
            inputs:
              PathtoPublish: $(Build.ArtifactStagingDirectory)
              ArtifactName: drop
              publishLocation: Container

This builds with a config (e.g., Release or Debug) you pass in. You can extend the steps to your liking.

Next, we have our deploy.yml template, again parameterised this time with an envName. You can add as many other parameters as required. And even have separate deploy.yml templates. Think docker-deploy.yml, dotnet-deploy.yml etc, you get the idea.

deploy.yml:

parameters:
  - name: envName
    default: dev
stages:
  - stage: Deploy_${{ parameters.envName }}
    jobs:
      - deployment: DeployJob
        environment: ${{ parameters.envName }}
        strategy:
          runOnce:
            deploy:
              steps:
                - script: echo Deploying to ${{ parameters.envName }}
                  displayName: Deploy Step

This deploys to an env (e.g., dev, prod) you specify. Parameters make this all portable and repeatable.

Step 3: Reference in Your Pipeline

In your main project repo, tweak azure-pipelines.yml to pull these in:

resources:
  repositories:
    - repository: templates
      type: git
      name: templates-repo  # Replace with your repo name
stages:
  - template: build.yml@templates
    parameters:
      buildConfig: Release
  - template: deploy.yml@templates
    parameters:
      envName: dev
  - template: deploy.yml@templates
    parameters:
      envName: prod

The example above highlights how the deploy.yml template can be reused for the dev and prod deploy stage. They both use the same build artifact and deploy this to the relevant environment.

It’s easy to see how the parameters for both the build.yml and deploy.yml stage can be tweaked and extended to suit your use case(s).

The resources.repositories block links your existing repo—templates git repo in Azure Repos is just an alias. Then @templates calls the files, passing parameters. Run it—builds in Release, deploys to prod. Swap envName to dev, and you’re golden. One repo, infinite uses. And it’s easy to extend your templates with sensible defaults.

Why This Wins

I’ve been automating pipelines for 15 years—external templates and thinking about parameterisation and re-usability and adopting your approach to cater for this mechanism is a game changer.

For the World Health Organisation, I created CruiseControl.NET XML templates that were highly parameterised.

And these days, with Azure DevOps, it’s easier than ever. But unless you’ve gone through the pain, it’s hard to appreciate the work required to have solid CI/CD pipeline templates in place that can be reused easily without breaking other pipelines or causing an administrative mess where autonomous teams just copy and paste without thinking.

Months of tinkering saved—dev teams could focus on code, not YAML. Pair it with Bicep for infra, and you’ve got a system—scalable, readable, done.

Stay tuned for more practical tips here and ready-baked templates you can use.

read more